I've been wanting to post a project for quite some time, but as these things seem to go with me, stuff just kept getting in the way. But I do believe that a leopard can change its spots eventually, so here I am, finally posting a project.
What project do I choose? Towels.
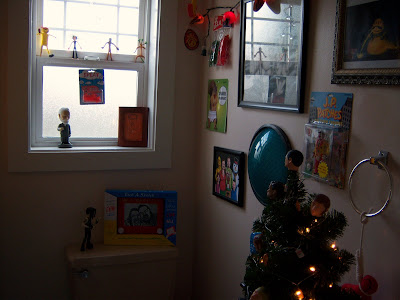
The downstairs bathroom in our house has been decorated in a way that definitely suits our personalities.

When it was time to find towels for guests to dry their hands on, we had trouble finding something that would fit in. So of course the next questions is always, what can I make that would work?
I know that not everyone's tastes lean toward decorating with ninjas, but trust me when I say you could use this technique to create spiffy new towels with anything you want.
Supplies
Towel
Material
Steam-A-Seam 2
Sewing Machine
Thread
Computer and printer
Scissors or X-Acto knife and cutting mat
1. I started by finding an image to use. Since I was making this project only for personal use, I wasn't too concerned about infringing on any copyrights and just did a Google image search. If you ever decide to make a buck by making snazzy towels with these directions, make sure you don't use a picture that could get you in trouble.

2. Print your picture out on to the paper backing of a sheet of double sided fusible web. I made sure my picture would fit onto a 9" x 12" sheet of Steam-A-Seam 2, but you can cut a longer piece out of a roll of Steam-A-Seam 2 if you have a bigger picture. If your picture is directional, you will want to print a reversed image.
3. Remove the paper backing from the Steam-A-Seam side that was NOT printed on and place it on the wrong side of the material you plan to use. Place the piece of paper you removed on top of the printed side of the Steam-A-Seam, and lightly iron on a low setting. Be careful not to smear the printed image.
4. Use the printed image on the paper as your guide for cutting the picture out of the material. If your image is relatively simple, you can use scissors. Because my ninja had a lot if small ins-and-outs, I used an X-Acto knife and cutting mat.
5. If my directions weren't too complicated, after the cutting is completed you should have a lovely little applique with material on one side and paper on the other. When you peel away the paper, the backside of your applique will show the shininess of the fusible web that is going to adhere the applique to your towel.
6. Following the directions on your fusible web packaging, place your applique where you'd like on your towel and iron it on. Make sure the applique is thoroughly adhered, with no edges unattached to the towel.

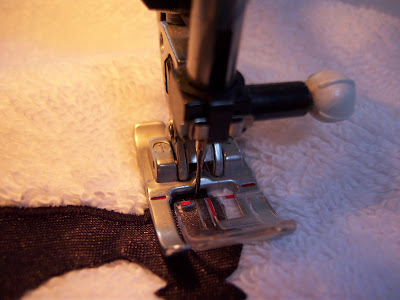
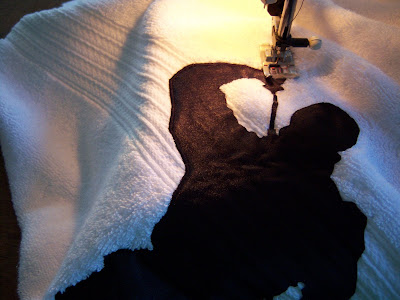
7. Sew around all of the edges using what is called an applique stitch. On my machine I choose a zig zag stitch and then shorten the length quite a bit so the stitches are basically running parallel to each other. Make sure to test it out before starting on your towel, as stitches do not rip out of the towel easily. if possible, use a clear foot for your machine so you can see the edges of your applique, and sew with the needle in the down position so pivoting is easier. Your stitching needs to fully cover the edges of your design, and overlapping stitches whenever changing direction will insure that you don't have any nasty unravels.


2 comments:
These certainly aren't your grandmas towels!! Thank you for the very precise lesson on Ninja towel making I know it will be invaluable!
I really don't think that a leopard can change its spots, they aren't chameleons or shape shifting extra terrestrials or anything. Fun Fact: Ninjas are known as stealth assasins with skills of misdirection, their extreme rocking ability, and superior cleanliness and hygeine. With skills like this ninja towels come in handy.
Post a Comment